To keep images in one place we ask everyone to upload images to the WordPress media library. When uploading files please make sure to use a descriptive file name. To add an image to the library, log into the WordPress admin site and select the “Media” section:

From there, click the “Add New” button to upload a new image.

From here, a panel at the top of the page will appear:
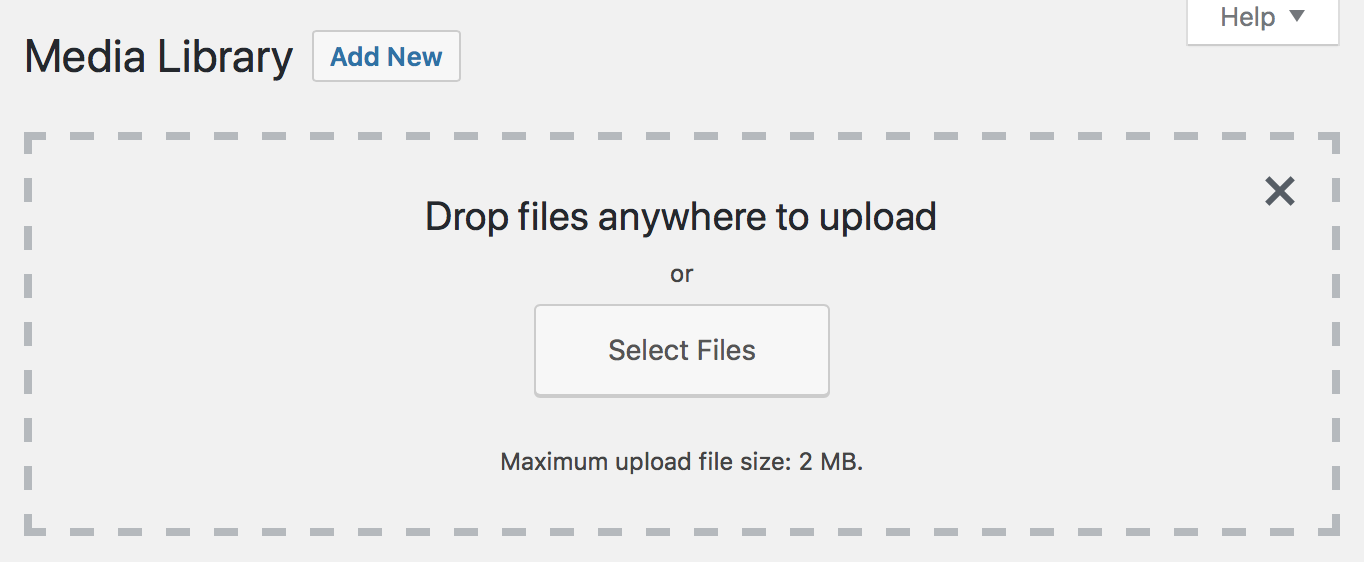
You can either drag the image to the area in the dashed lines, or else click the “Select Files” button and find the file on your computer. Once uploaded, you will see a thumbnail of the image on the page (the newest one will be the top left square). Clicking the image you just uploaded will take you to a page where you can enter information about the image. Enter at least a sensible title for the image and short description of what it is. You may also fill the author field (your name if you created the image) or the web address (“Source URL”) where the image was taken from.
After adding an image to the media library it can be added to a blog post, news item or resource link.